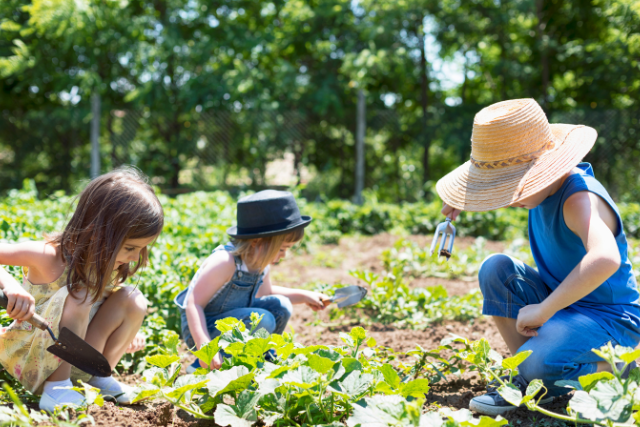
There isn’t much better than surveying your garden bounty in the middle of a gorgeous sunny, summer day. But, what happens to all that bounty? Your tomatoes, cucumbers, corn and other crops will each ripen at it’s own time, but each type of vegetable will mostly ripen all at the same time! Yikes! That’s lot of tomatoes, or cucumbers to eat in a few days.
But, canning some of your bounty means you can enjoy these vegetables, and fruits, later in the year. It’s really nice to have fresh produce in the middle of winter. Going to your pantry and grabbing some of the tomato sauce or grape jelly you made from your own produce can add warmth to a cold winter day!
Canning, the art of preserving food in jars, has been a cherished tradition for generations. It allows you to save money, get quality food even during the winter and embrace a more sustainable lifestyle. Plus, there’s something incredibly satisfying about seeing your pantry shelves lined with colorful jars filled with homemade jams, pickles, and sauces.
Here is what you need to know:
Gathering Your Supplies
Before you start, you’ll need to gather up some supplies. Here’s what you’ll need:
- Fresh Fruits and Vegetables: Obviously! Make sure your produce is ripe, blemish-free, and ready to be preserved.
- Jars and Lids: Mason jars are the most popular choice. Ensure they are clean and free from any chips or cracks. Matching lids and bands are essential for sealing your creations. Also, you can reuse the jars and bans but not the lids. These will pop when they are properly sealed and can’t be reused.
- Canning Pot: A large, deep pot designed for canning purposes. It needs to be deep enough so you can fully immerse the jars.
- Canning Rack: This fits inside your canning pot and prevents your jars from touching the bottom directly.
- Utensils: You’ll need a jar lifter, a lid lifter, and a canning funnel to safely handle the hot jars and lids. You can find packages with all these canning supplies. It’s not very expensive but having the right tools does make the process easier.
- Ingredients: Depending on your recipe, this might include sugar, vinegar, spices, and other flavorings.
- Kitchen Essentials: You’ll need a knife, cutting board, bowls, and a large pot for cooking your recipes.
Choose Your Canning Method
There are two primary methods of canning: water bath canning and pressure canning. Which method you choose depends on what you’re canning.
Water Bath Canning is method for canning high-acid foods like fruits, pickles, jellies, jams and jellies. Here’s how it works:
- Prep Your Ingredients: Wash, peel, and chop your fruits or vegetables as needed.
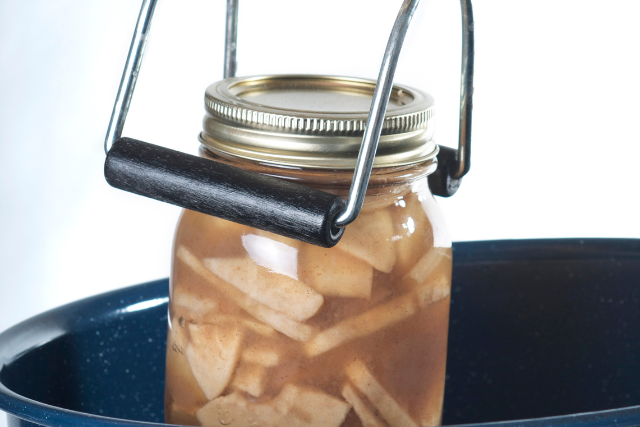
- Sterilize Jars: Place your clean jars in the canning pot, cover with water, and bring to a simmer. Let them simmer for 10 minutes to sterilize.
- Prepare Your Recipe: Follow your chosen recipe, combining ingredients and cooking the mixture until it’s hot.
- Fill Jars: Use the canning funnel to add your hot mixture into the sterilized jars, leaving the recommended headspace (usually ¼ inch) at the top.
- Seal the Jars: Wipe the jar rims, place the lids on top, and screw on the bands until they’re fingertip-tight.
- Process Jars: Lower the filled jars into the canning pot, making sure they’re covered with at least 1-2 inches of water. Bring to a boil and process for the however long the recipe you’re using recommends.
- Cool off and Store: Take jars out of the water bath while hot, and put them on a colling rack, or, if you don’t have a cooling rack, a towel will work. Let them cool for 12-24 hours. As they cool, you’ll hear a pop which tells you that the lids have sealed properly.
Pressure Canning is required for low-acid foods like vegetables, meats, and poultry. The steps are a bit different:
- Prepare Jars and Ingredients: Sterilize your jars and prep your low-acid food according to your recipe.
- Fill Jars: Use the canning funnel to pack your jars with your prepared food, leaving the recommended headspace.
- Seal Jars: Wipe the jar rims, place the lids on top, and screw on the bands until they’re fingertip-tight.
- Process Jars: Add the specified amount of water to your pressure canner and place the jars inside. Follow your canner’s instructions for sealing and pressurizing.
- Cook: Process your jars at the recommended pressure and time according to your recipe. This is important since it will destroy any harmful bacteria that is present.
- Cool and Store: Once the pressure has returned to zero, carefully open the canner. Remove the jars and let them cool for 12-24 hours. You’ll hear the lids pop as they seal.
Experiment with Different Recipes
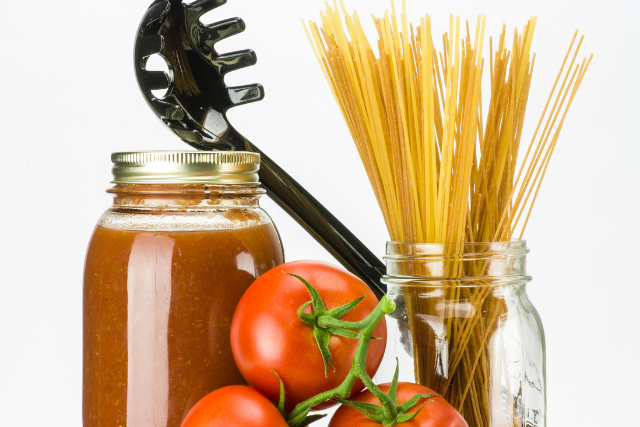
Now that you’ve mastered the basics, it’s time to have some fun! There are a lot of types of foods, and recipes, you can try. Pasta or pizza sauce made from your garden tomatoes, jams or jellies made with fruit right from your own vines, or whatever else you can think of, you have a lot of options!
Don’t be afraid to experiment with your own flavor combinations. You can add herbs, spices, and even a splash of your favorite liquor to create unique, mouthwatering preserves. Canning is as much about creativity as it is about preservation.
Label and Store Your Creations
As you finish each batch, don’t forget to label your jars with the date and contents. It’s easy to lose track of what’s in each jar, especially if you’ve been busy canning all day. Properly labeled jars makes it easy to find just what you’re looking for and not accidentally grab the wrong thing.
Store your canned produce in a cool, dark place. A pantry or cellar is ideal, but a cabinet works well too. It really does feel good to see all the food that you grew and canned yourself lined up on your shelf! All your work will be appreciated when fresh produce is scarce in the winter but you are still enjoying garden fresh vegetables.
Getting that fresh taste of summer in the middle of a cold winter day is really a really special treat!
Canning isn’t just about preserving food; it’s about preserving traditions and savoring the simple pleasures of life. It connects us to the past and grounds us in the present. So, grab your apron, gather your produce, and start canning your way to delicious homegrown goodness. Your taste buds will thank you, and your pantry will never be the same again.
Happy canning!